In this part we will proceed to give details of the assembly of the product, from the assembly of the base, supports and the operation of it.
Implementation and Assembly of the digital fabrication project
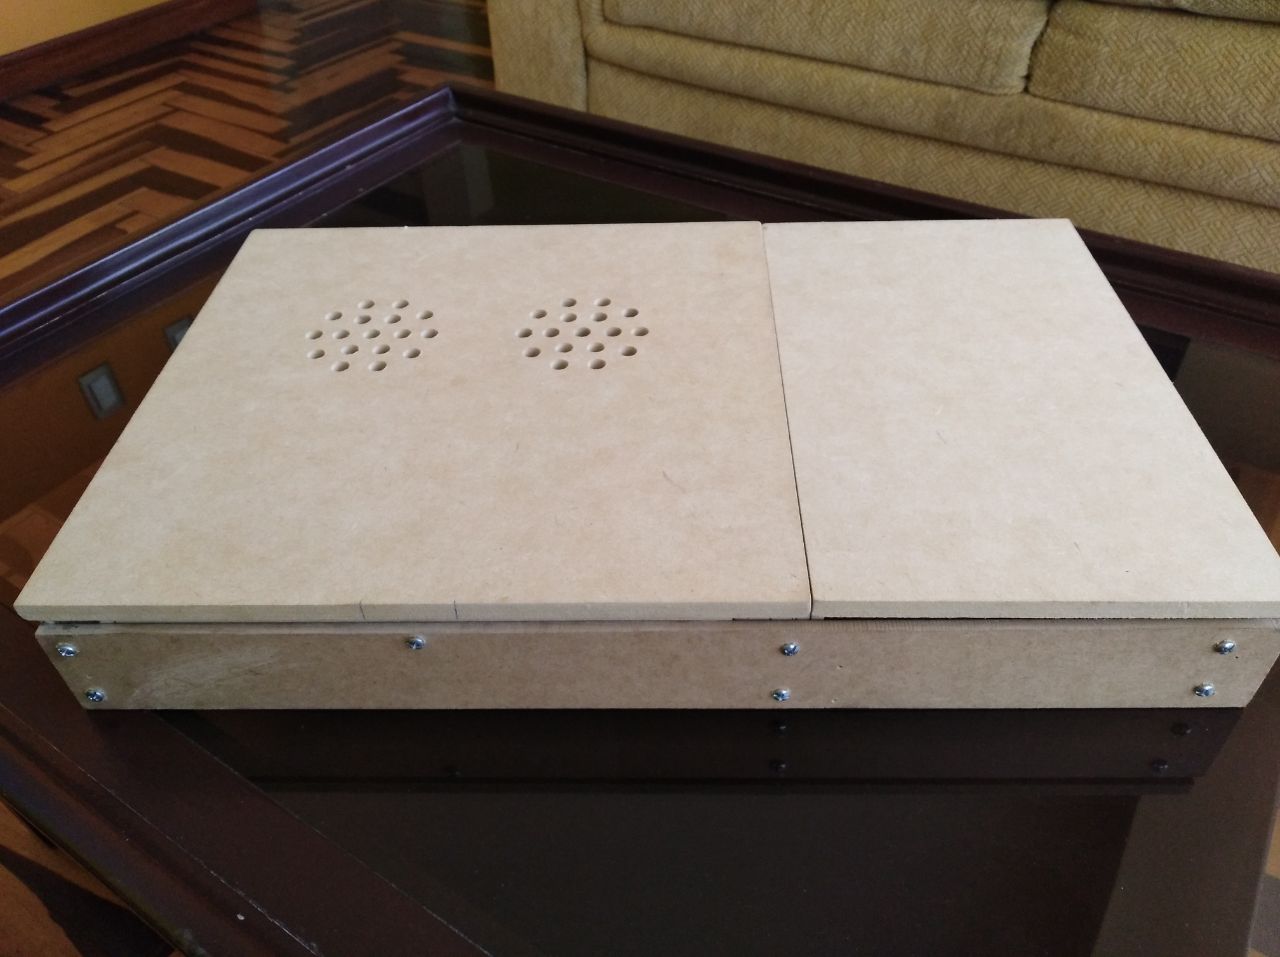
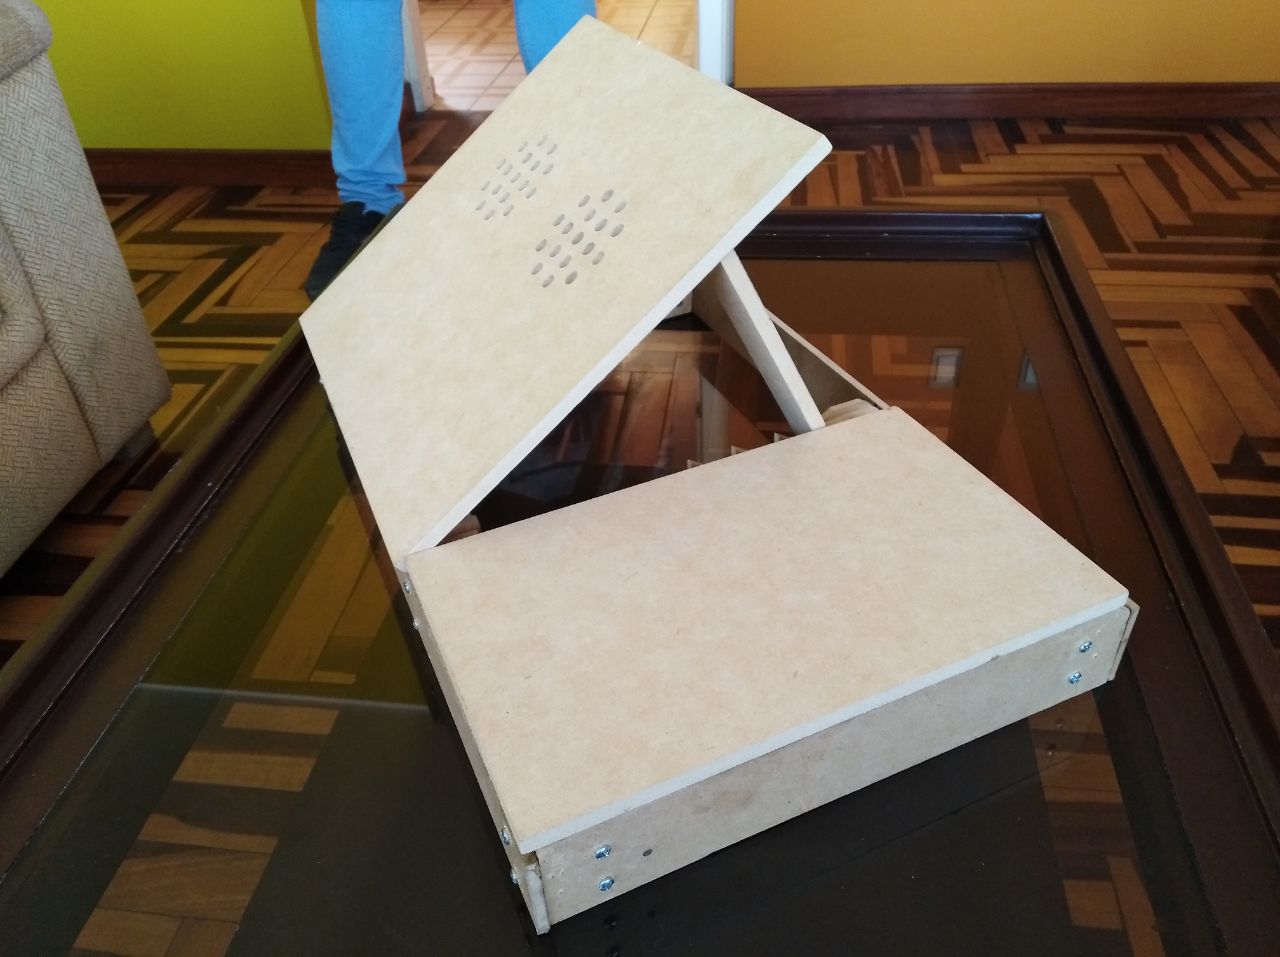
As we can see the project is already assembled as a structure, not yet added the electronic components, we started with the structure, placing the sides and supports with fasteners on boards, we secured them with incarnated screws, since unlike the nails these remain fixed and do not allow the movement of the wood.
Armed framework or product base
For the assembly of this was used the pieces of the sides and those of teeth, with the long of support, was used as separate and fasteners to small pieces of 0.9 of thickness and we began the armed. As explained in video 1. the images show the finished product, and it is observed how it holds very well to the flat surface so it could serve as a simple cooler and cool our laptop.
After this the LEDs or set of LEDs will be made, which we can modify making it look more beautiful and decorative. And so give it a more outstanding aspect in the dark, even help us to see the keyboard of the laptop, because this is a problem in several users.